
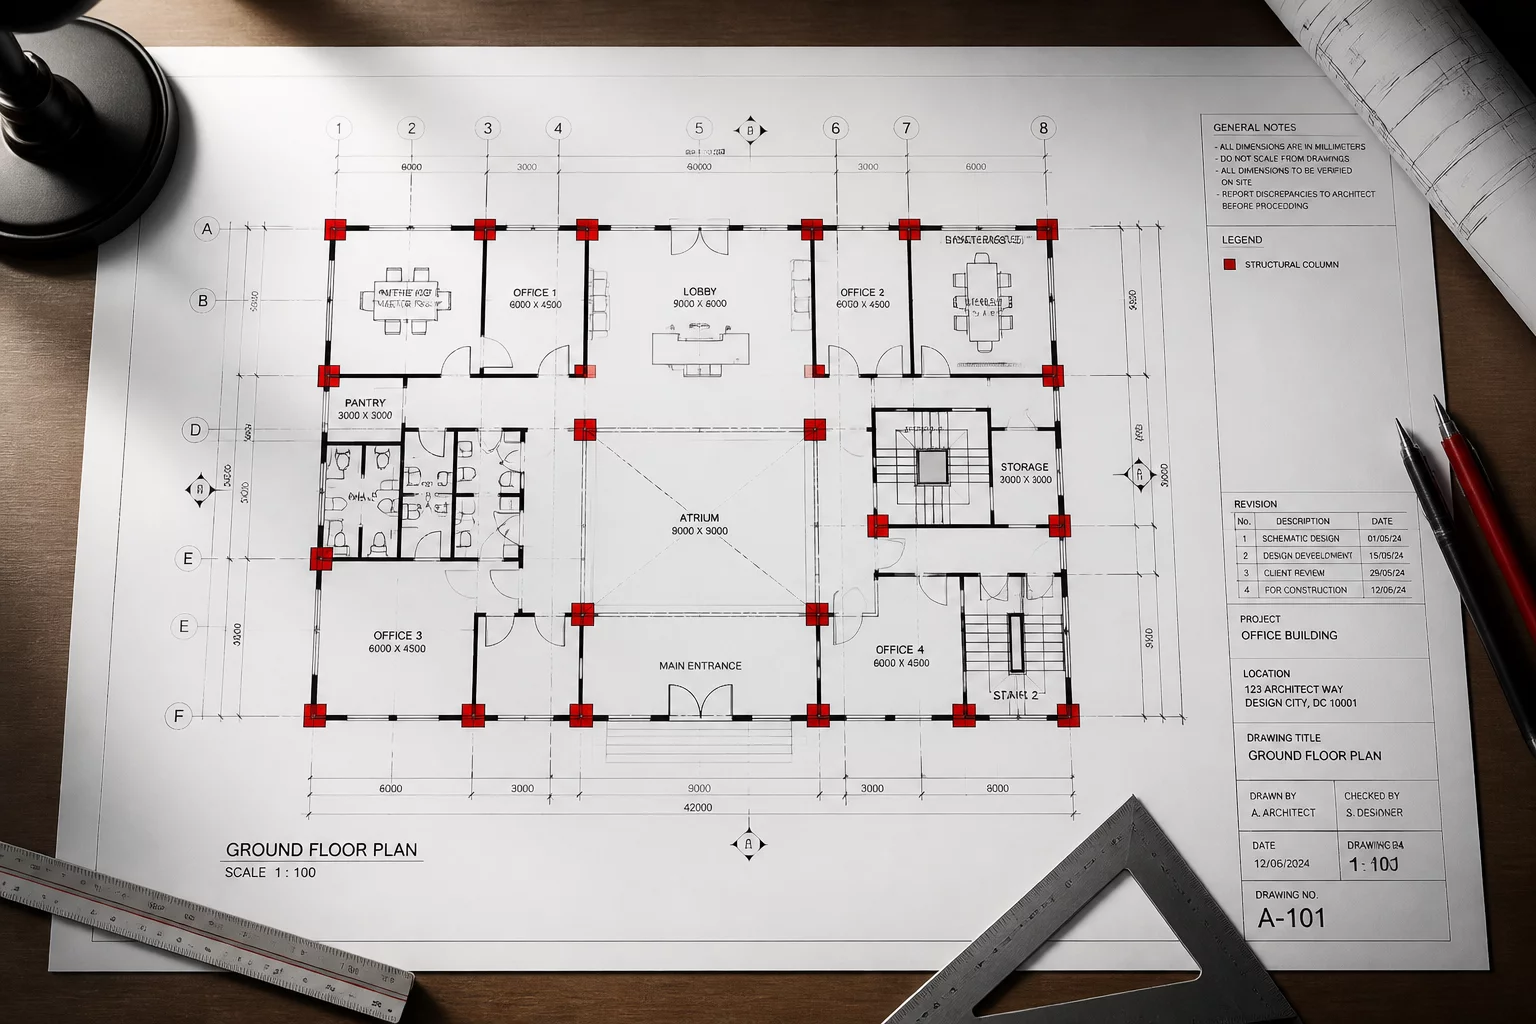
The Role of Viewport Class Overrides in Architectural Hierarchy
In Vectorworks, design layers establish spatial geometry while global classes manage graphic attributes such as line weight, fill color, pen style, and opacity. When presenting a drawing on a sheet layer, standard global class attributes frequently fail to communicate specific design intent across differing scales. A partition wall requiring bold linework on a framing layout must fade to light grey on an electrical plan. Viewport class overrides solve this dilemma by altering visual hierarchies locally on the sheet layer without modifying the underlying model or affecting companion viewports.
Applying targeted overrides preserves model integrity while producing high-contrast, purpose-driven architectural sheets. Instead of duplicating geometry or creating unnecessary parallel classes, drafters can adjust pen thickness, line types, and fills directly inside the viewport class attributes dialog. This separation of source data and presentation graphics ensures consistent revision management and eliminates visual clutter across contract documentation sets.
Core Rules for Class Override Management
-
1
Isolated Presentation Scope: Overrides apply strictly to the active viewport, leaving the design layer model and other sheet viewports untouched.
-
2
Pen Weight Calibration: Critical path elements receive dense black outlines, while background context drops to a 0.05mm light grey line.
-
3
Hatch & Fill Suppression: Non-essential material hatches can be overridden with solid white or clear fills to heighten foreground legibility.
-
4
Data Consistency: Because overrides do not alter object parameters, schedules and worksheets extract reliable model data without conflict.
"A drawing that displays every element with equal graphic weight explains nothing. Viewport class overrides allow architects to direct the contractor's attention directly to what matters most."
Configuring Class Overrides Step-by-Step
To configure class overrides, select the target viewport on your sheet layer and open the Object Info Palette (OIP). Click the Classes button to launch the Viewport Class Properties dialog. Locate the specific classes governing secondary elements—such as fixtures, casework, or existing structural boundaries—and modify their pen style to a muted color or thinner line weight. For primary scopes like new masonry or demolition boundaries, increase pen weights and assign distinct solid fills to achieve immediate visual prominence.
Use the Eyedropper tool with Viewport Properties enabled to transfer configured class override rules across companion viewports. Combining class overrides with data visualization palettes provides automated graphic overrides tied directly to object records, ensuring systematic graphic control across multi-sheet production sets.
Standardize Your Viewport Class Systems
Discover how to integrate disciplined class mapping and viewport overrides directly into your practice drawing templates.
Common Questions on Class Overrides
Recommended Tutorials
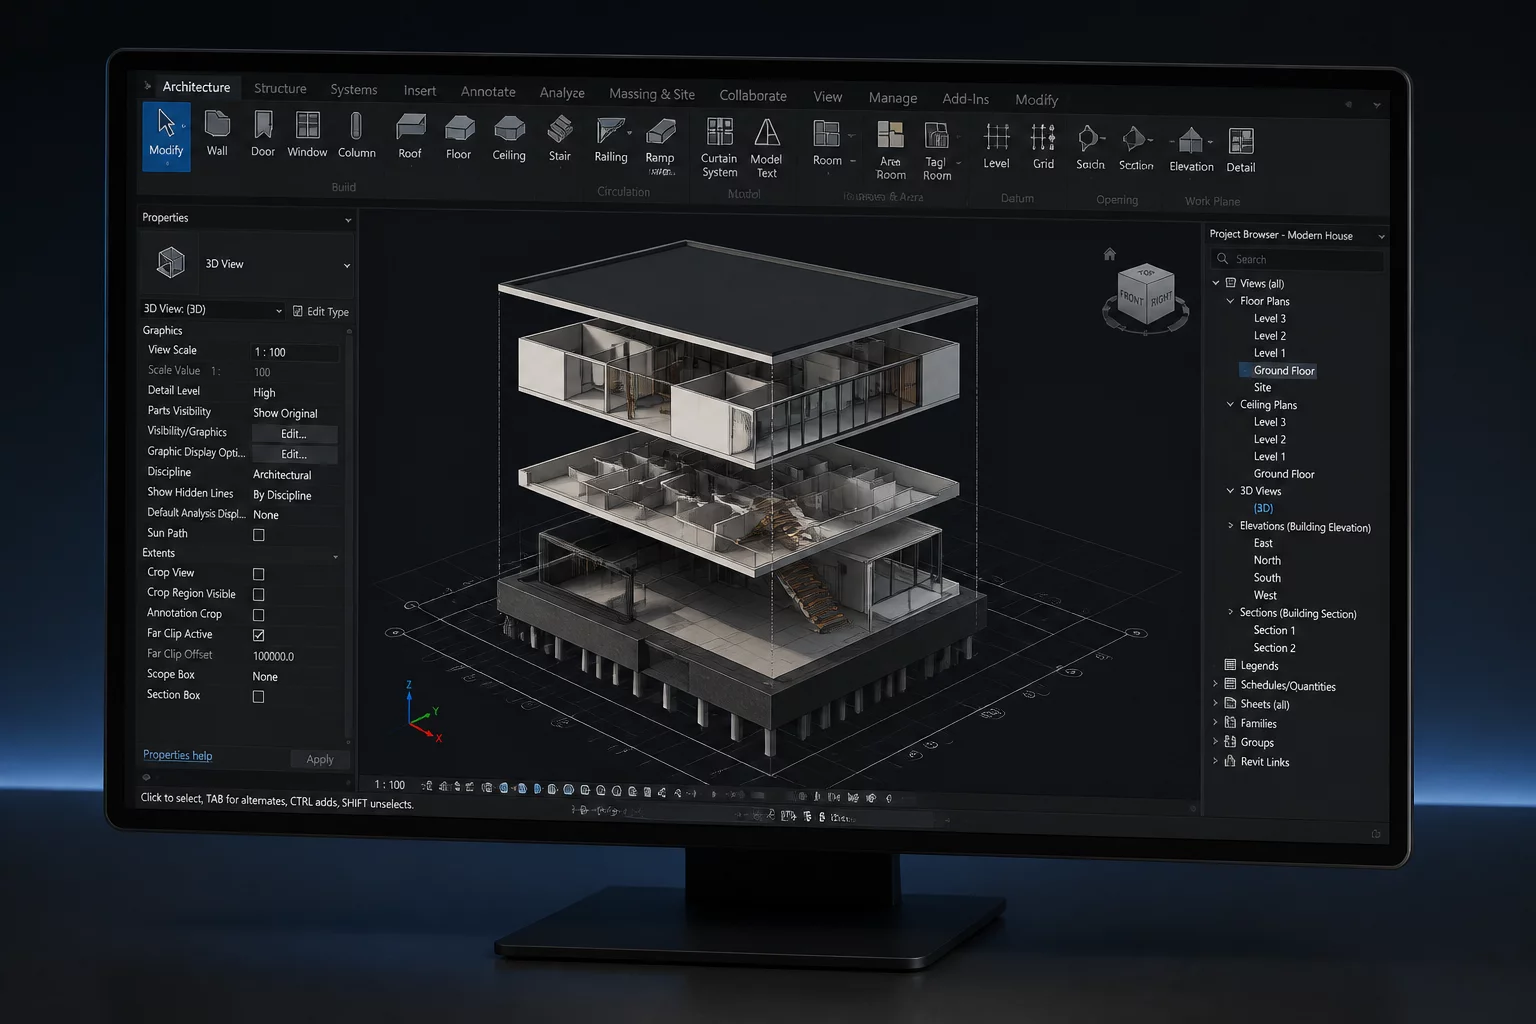 Layer Setup
Mastering Layer Visibility
Strategies for managing design layer visibility in viewports.
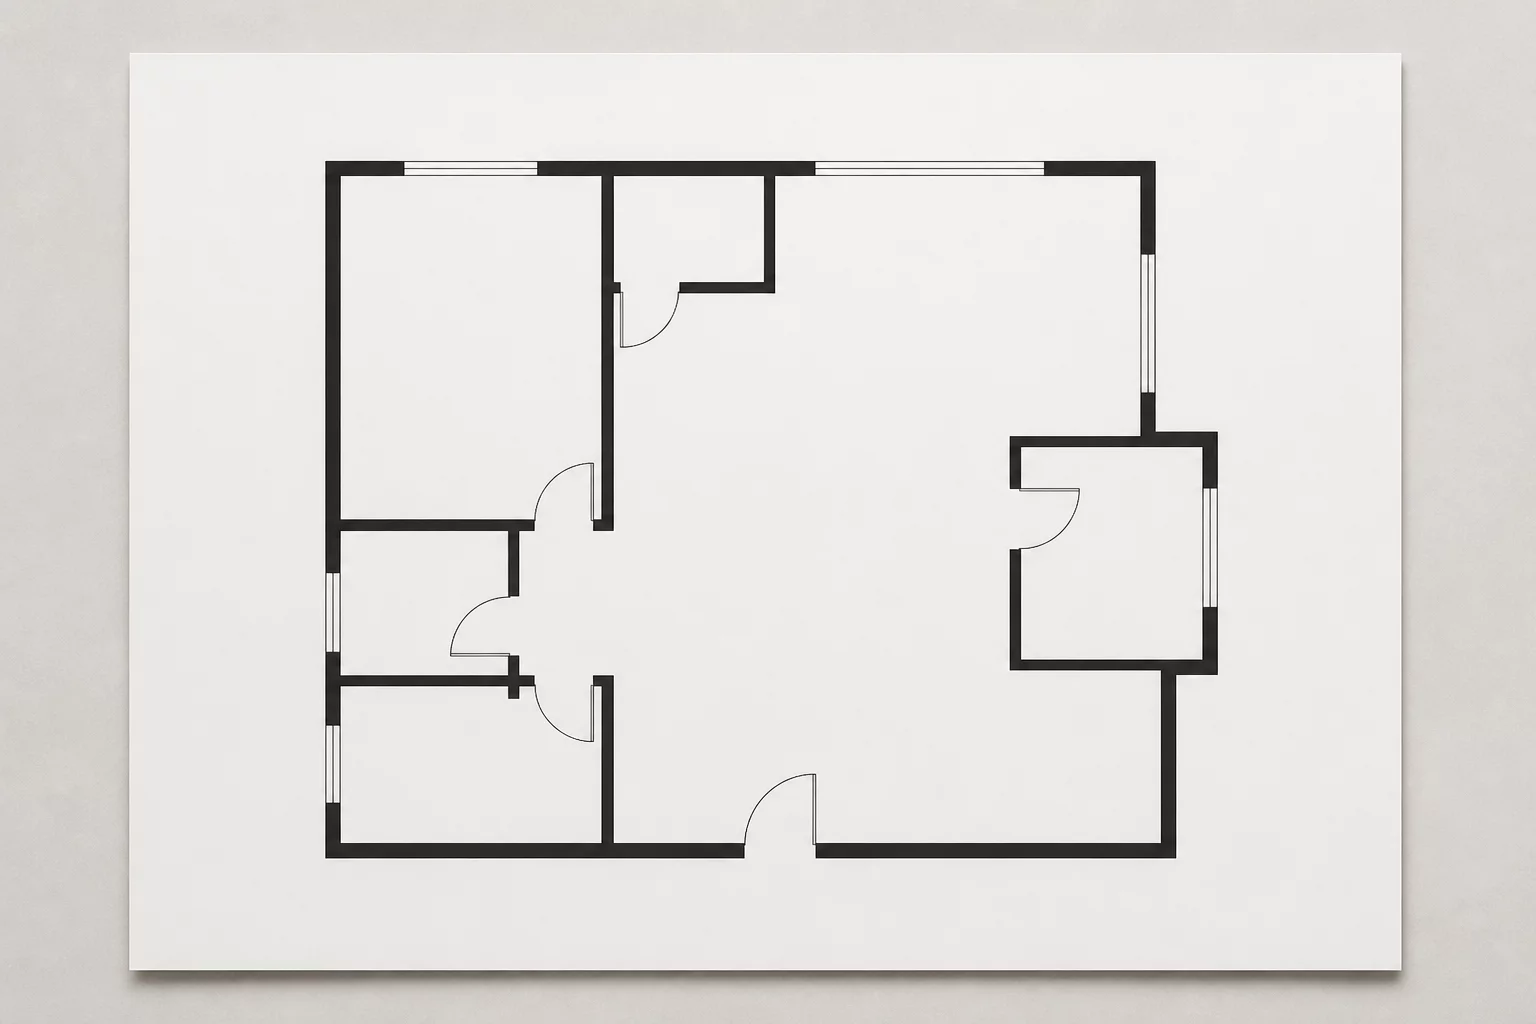 Drawing Logic
Intentional Omissions in Plans
Why hiding information is just as important as showing it.
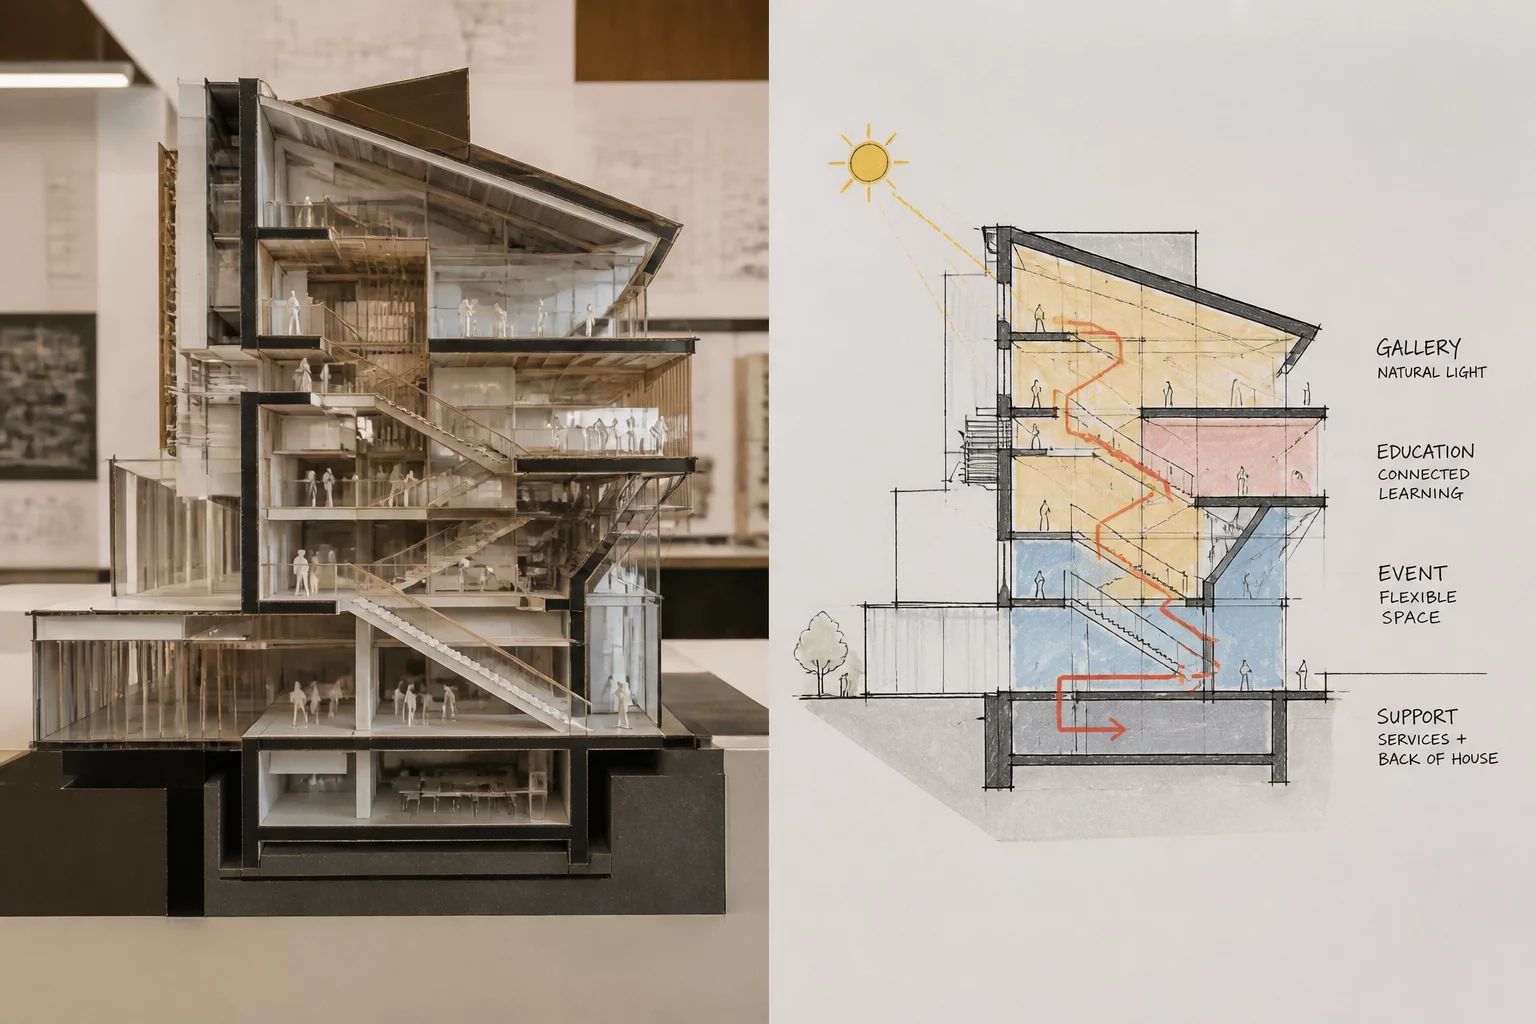 Level of Detail
Detail Level Management
Adjusting detail levels to match the intent of the sheet.